How to Conceal Dark Circles
Dark Circles – why we get them and how to conceal them
Read More
How To
Dark Circles –
a wake-up call
Maybe your beauty sleep has been less than ideal. You’ve been out in the sun too much. Your recommended eight glasses of water a day are more like…two or three. All these things could be why you’re seeing dark circles under your eyes. And if your mum or dad has them, you’re fighting genetics too.
The good news is, we’ve got you (literally) covered. Faking that wide-awake, so-well-slept look is easy when you have the right tools and a few easy tricks.
Choose an under eye colour corrector.
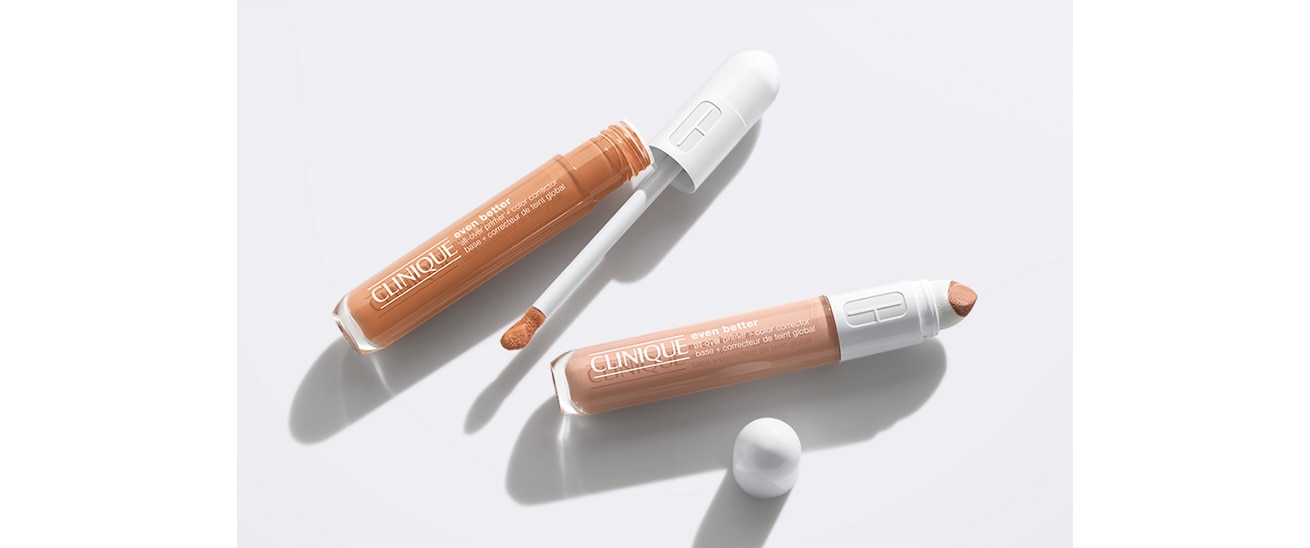
Under eye circles extreme and blue-toned (almost bruisy)? Your new best friend will be your Even Better™️ All-Over Primer + Colour Corrector, the perfect colour corrector for dark circles. Why colour correct first? You can correct and conceal with less product and with a more natural result. The apricot or peach shade neutralizes the blue, bruisy parts of dark circles, making them much easier to cover with your concealer or foundation.
1. Choose the right shade for your skin tone (Peach for Very Fair to Moderately Fair skin tones, Apricot for Medium to Deep skin tones).
2. Apply a small amount with the tip of the applicator where you see the deepest blue tones.
3. Tap, don’t spread, the corrector with the specially-designed sponge blurring blender until the edges blur. Don’t attempt to completely cover the circles with the color corrector—that’s your concealer’s job now that the blue tones have been neutralized.
4. Follow with your regular shade of concealer – steps below.
Pick a concealer.
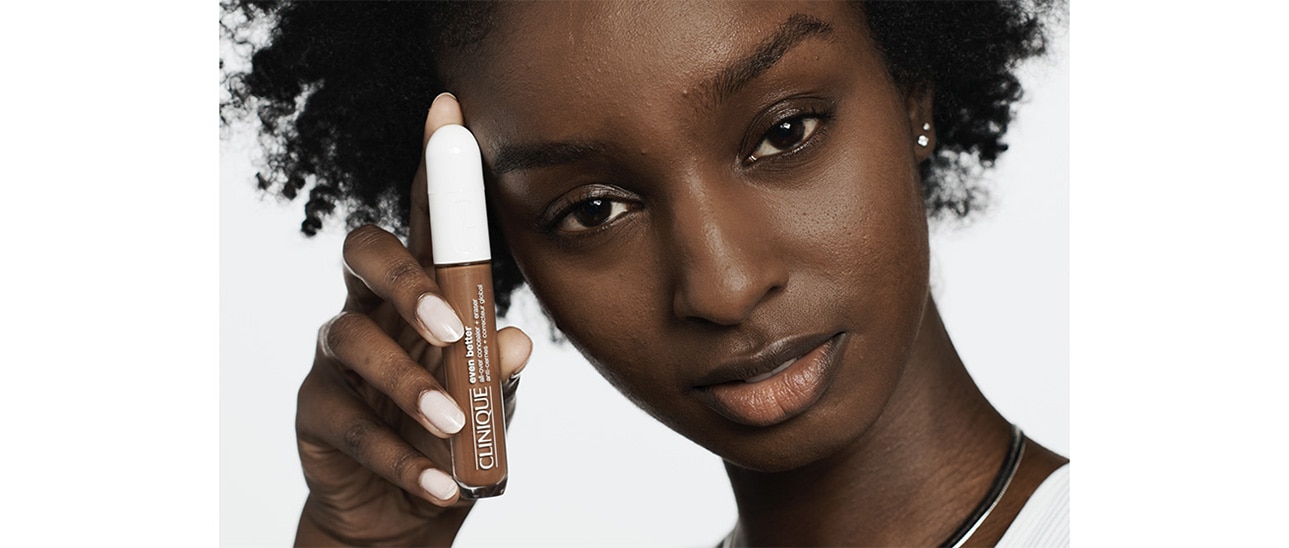
The best concealer for dark circles? Clinique Even Better ™ All-Over Concealer + Eraser. It was designed for under eyes and more, with a lightweight full coverage that sits comfortably on skin for twelve hours without settling. But don’t only expect an instant transformation. Ingredients like vitamin C, hyaluronic acid, and caffeine help hydrate, plump, and energize your eye area, while depuffing dark circles for up to twelve hours. And it’s clinically proven to minimize the look of undereye puffiness the more you use it.
Step 1: Dab a small amount of the concealer using the built-in wand over the top of your corrector, tapping back and forth to cover the area (tapping vs. spreading helps the corrector stay in place).
Step 2: Tap additional concealer under the hollow of your eyes.
Step 3: For a lifting effect, add a small sweep up and out under the outer corner of your under eyes.
Step 4: Use the specially-designed sponge blurring blender to blend edges using a tapping vs. spreading motion in towards the nose and out towards the temples. (Don’t worry, it’s antibacterial.)
Step 5: Keep blending until the pigment has melted into the skin.
Time for highlight.
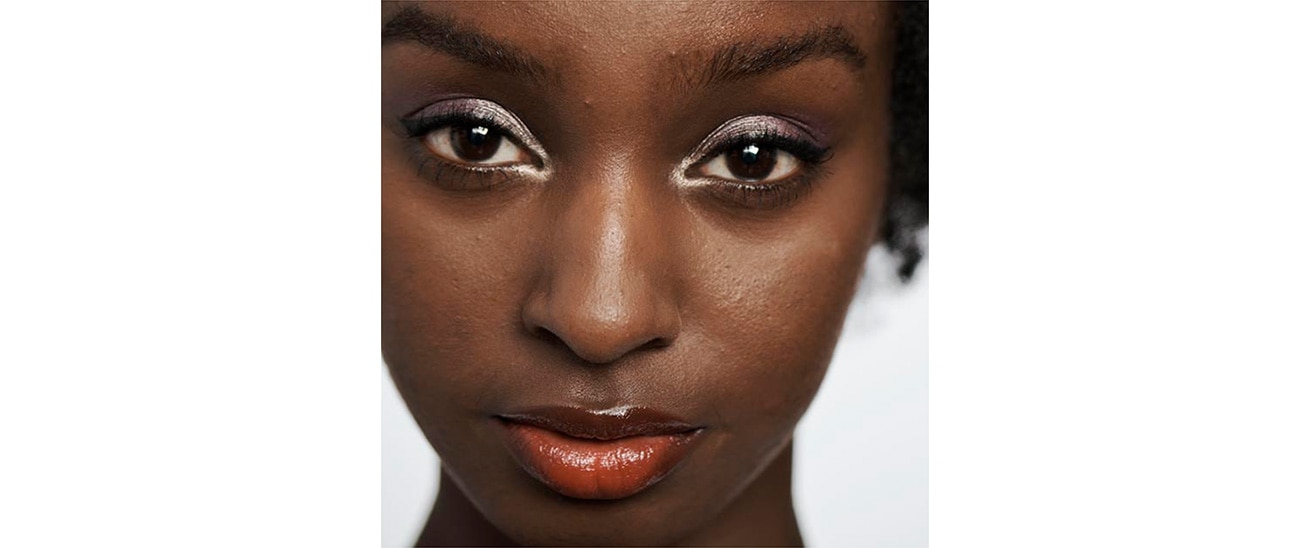
Let’s keep the brightening effect going with something shimmery. Using small dense brush or your finger, apply a dab of the Chubby Stick Sculping Highlight or Powder Pop Flower Highlighter to the inner corners of your eyes. Next, sweep it up your cheekbones and a little above the brow bone – this will create an uplifted, glowy effect that says, “late night, who?”
Distract with lashes.
Draw attention to your newly sparkling eyes with some lush lashes.
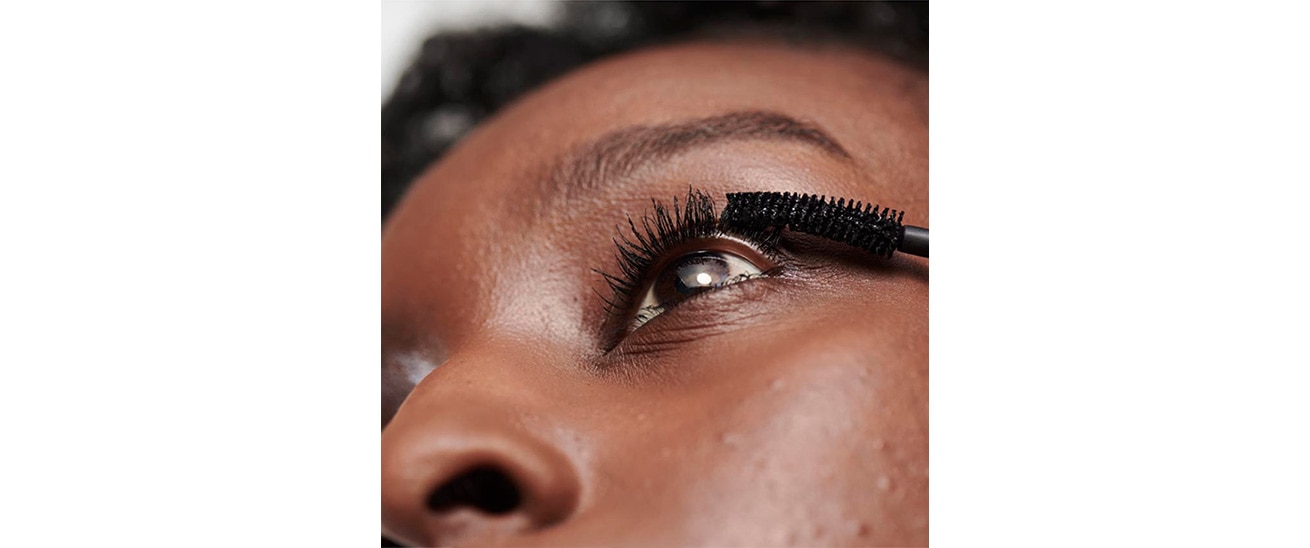
Apply one coat of High Impact Mascara to your upper lashes. Starting at the root, wiggle the brush up to the lash tips. Focus on fanning your outer lashes if you want to go a little glam – what better way to forget about those dark circles entirely?
So while we definitely recommend getting some sleep, using a daily SPF, and staying hydrated – these quick tricks are there for you whenever you need a little wake-up call.
Shop The Story


